Creating Nursery Mobiles
Mobiles Are So Much Fun!
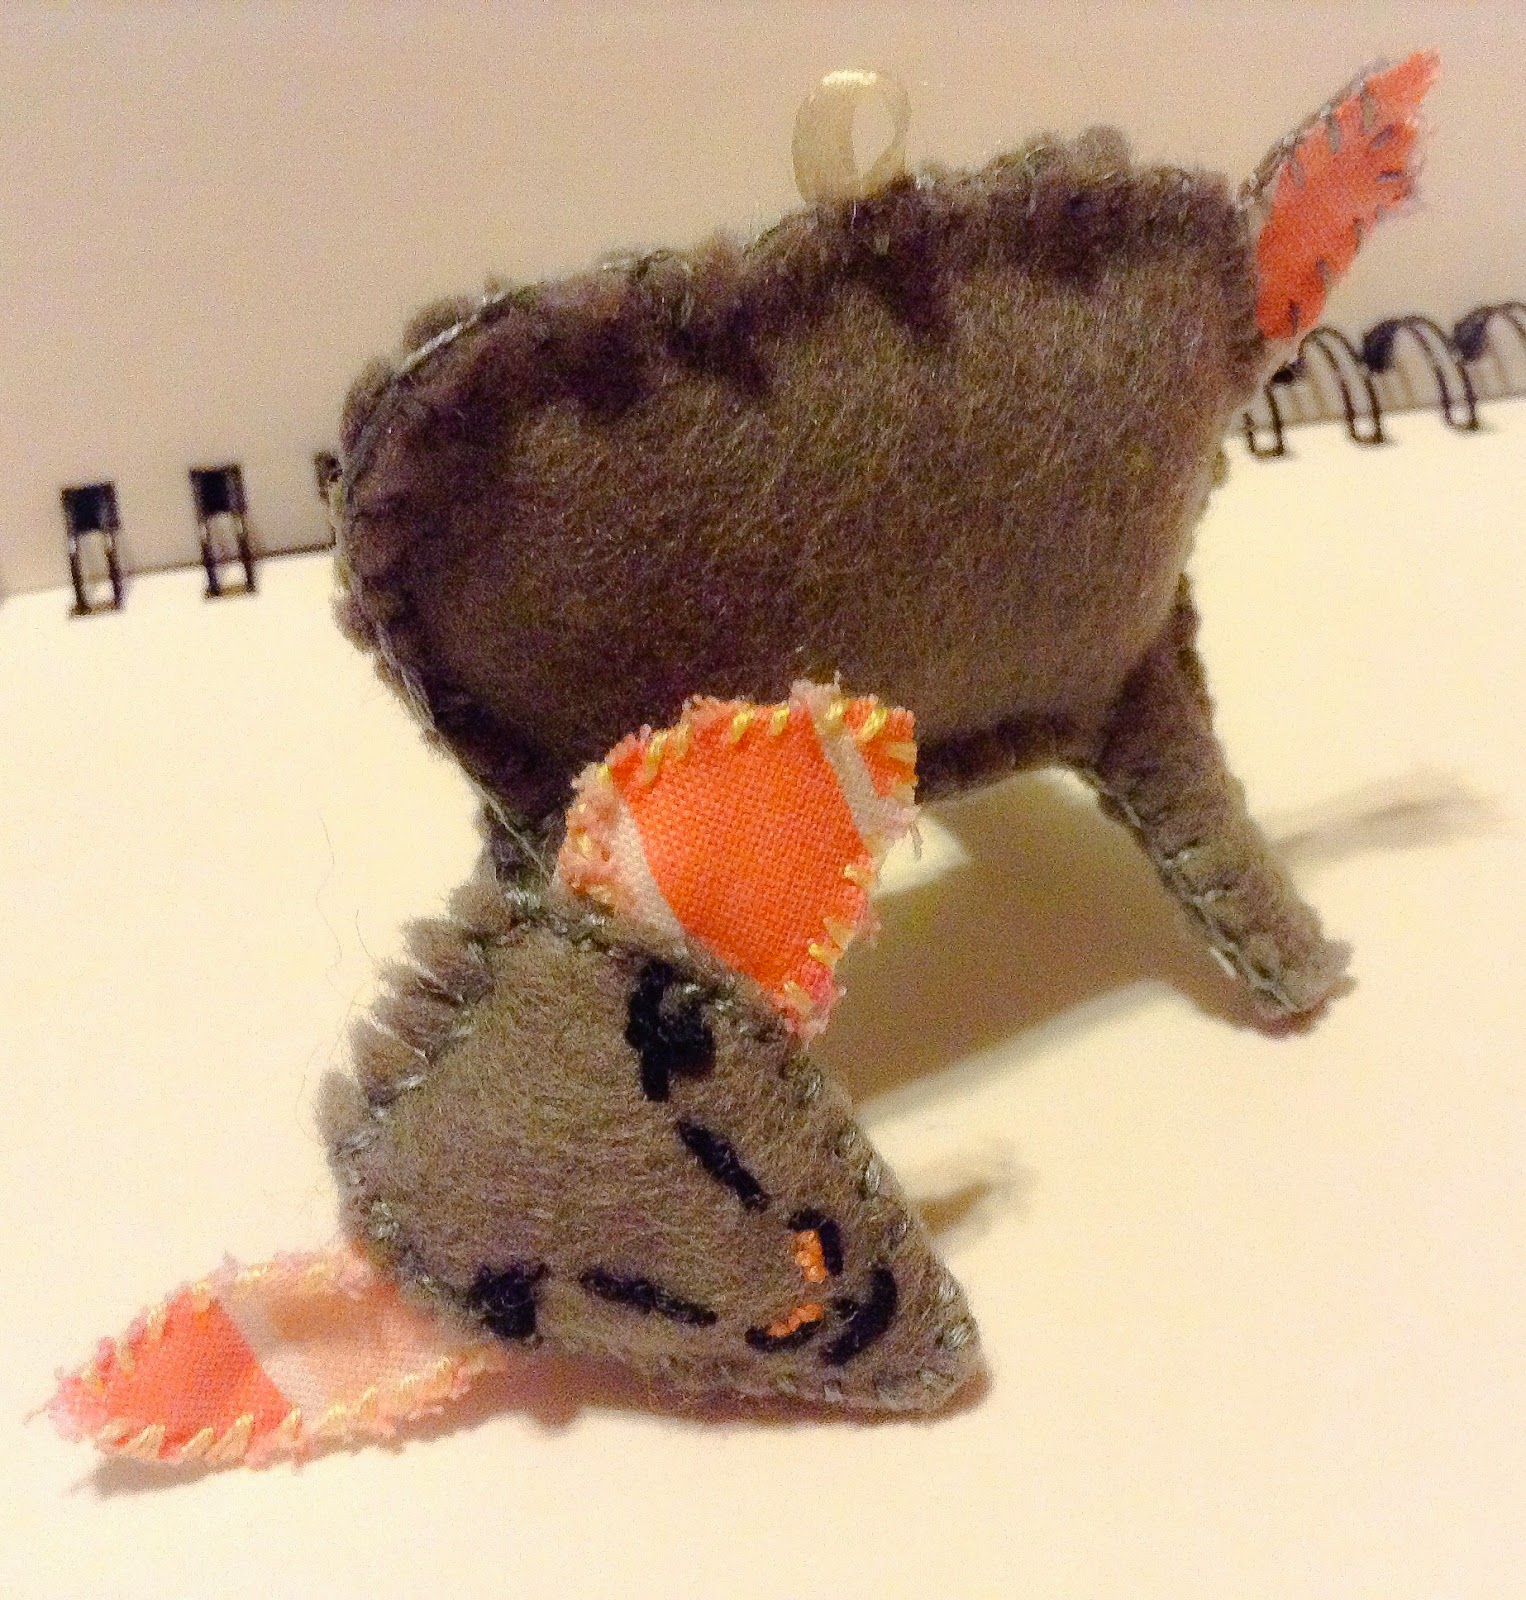
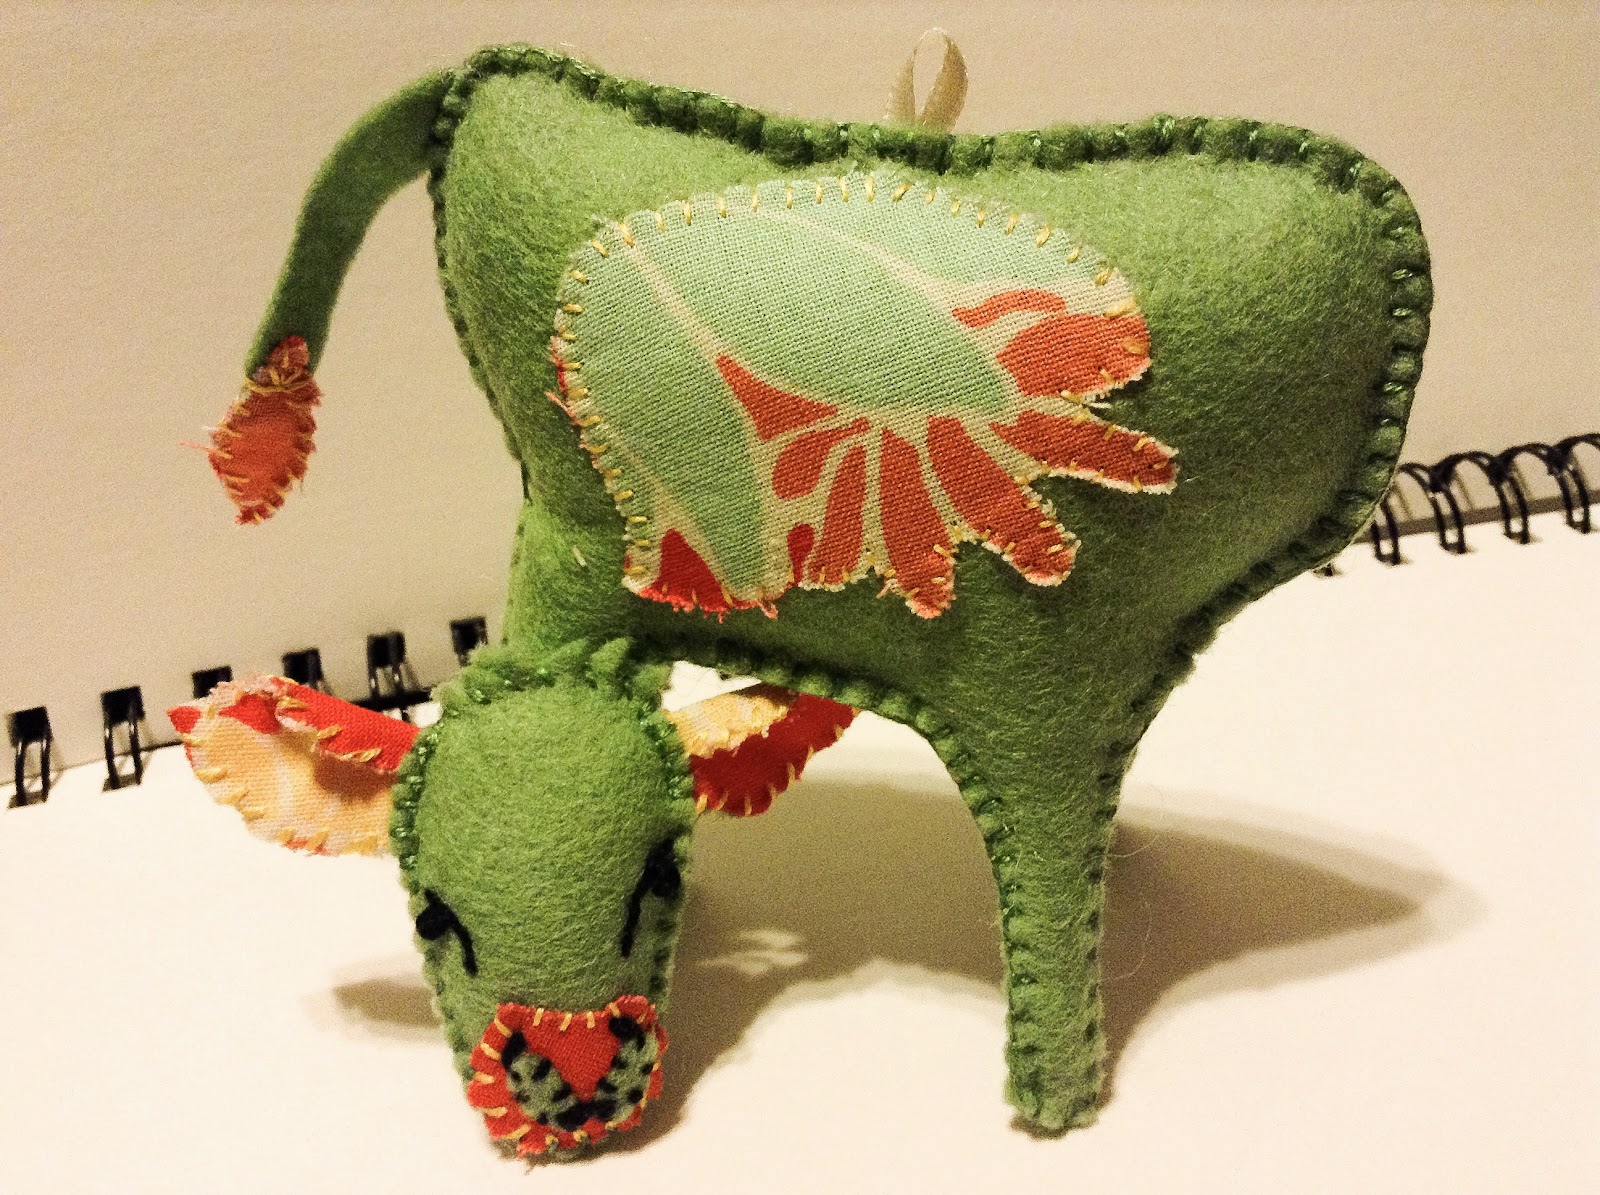
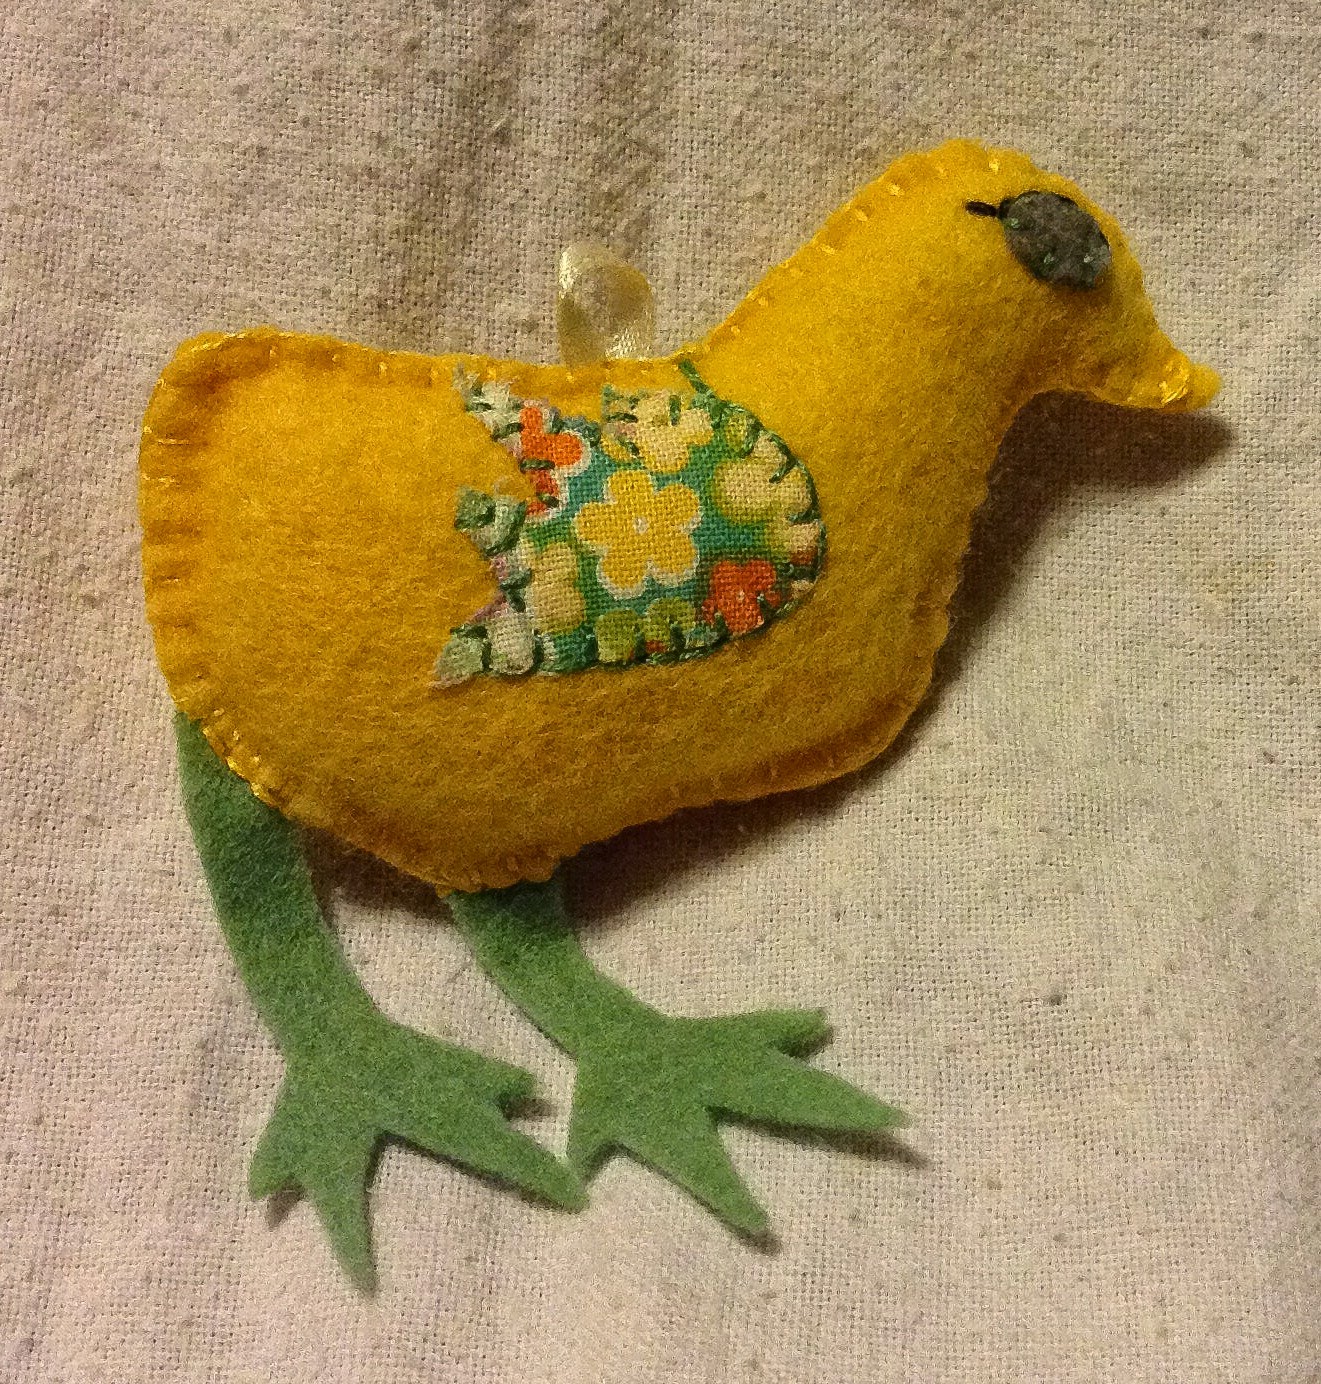
I have always felt that shopping for materials was one of my favorite parts about creating mobiles. This gave me a chance to explore all of my options to make each piece unique. Now that I had all the supplies, it was time to address some big questions, such as, what animals to use, how many, and what color and fabric to use for what part of each animal. I chose baby animals because the fuzziness was endless. Their cute little faces stood out to me and would pair great with a baby's room. Since I've had extensive Art training, I always used odd numbers of items in every piece of artwork I do. I find myself sort of obsessed with the concept so, I decided to choose a pig, cow, goat, sheep, and chick. Now that everything was coming together, it was time to draw and cut everything out. Let the sewing begin!
 |  |
Now it was time to sit back, relax, and let my fingers do the rest. I started with the faces first. The smallest parts were always the most complex depending on how much detail I wanted to add. I would have several needles on hand because changing colors was constant between each animal. Speaking from experience, it becomes very tedious and downright frustrating to thread a needle each time you need a new color. After awhile you start to see double. That is not a great idea when you are working with sharp objects. Ouch! Once all of the animals' heads were finished, I moved on to the bodies. For me, the bodies seamed to go a lot quicker if the design is not as complex.
 |  |  |  |
After all of the animals were sewn, it was time to stuff. I would wait until your kids or pets are put to bed to complete this task. Otherwise you could end up with stuffing all over your house. My kids love to pull the stuffing apart and rub it between their fingers. Absolutely adorable but doesn't help get the job done unfortunately. I stuffed the heads first and sewed them closed. Then moved on to the legs of each animal. I have found that if I use extremely small pieces of stuffing pushed into small items, such as the legs, they don't have hard lumps in strange places. I continued to fill the body with stuffing until I felt that it was enough. Then I sewed the rest of the body together. Once all of the parts were sewn, stuffed, and stitched together, it was time to add the heads to the bodies. Voila!
 |
 |
 |
 |
 |
Now that each felt animal was completely stuffed and stitched, it was time to string them to a hanger of some sort. For this mobile I was lucky enough to find a picket fence that had wire I could bend. I wanted the picket fence to keep its shape, so I decided to go with a straight lined square. I felt a circle would loose its shape if any pressure was added to it. Once the fence was put together, I started hanging each animal. The cow was the heaviest of the bunch, so I had to hang it in the middle. If it was hung on any of the corners of the picket fence, it would throw the whole mobile off center. I then hung the pig across from the sheep and the chick across from the goat. This kept the mobile visually and physically balanced. Perfection!
Are you ready to try creating your own mobile? Maybe you have some tips or tricks you would like to share. I would love to hear from you. PLEASE, by all means, send pictures. I want to see your awesomeness!


No comments:
Post a Comment